
We recently received our batch of Gold Pocket Drivers back from the gold platers we work with, and we wanted to share their beauty with you! For those who don't know, the gold plating process involves applying a thin layer of gold on to the base metal, in this case stainless steel, using the electroplating method.
Before this could even happen, we had to get the Pocket Drivers polished and smooth to ensure they had a perfect base. Avoiding imperfections at this early stage means we can make sure the final result is as beautiful as possible! They weren't assembled to ensure each individual piece could get properly covered.
Once they arrived to the platers, they went through another cleaning process before being prepped for the application.
The electroplating method is a chemical process that results in the adhesion of gold to the surface metal. It begins with the creation of a gold salt solution which is mixed into water to create the plating bath. Because of the creation of the metal salt, this bath is full of positively charged gold ions. The Pocket Driver components are dipped using a bar with a negative charge running through it, which in turn gives the pieces a negative charge. They're then immersed in the bath, and the negative electric current running through them attracts the positive gold ions in the solution. The gold chemically combines with the Pocket Driver parts to produce a thin layer of plating on the surface. This means the gold is now a permanent addition, and it won't fall off or separate over time.
Gold plating is incredibly thin; in fact the gold plating on the Pocket Drivers is just 0.2microns thick!

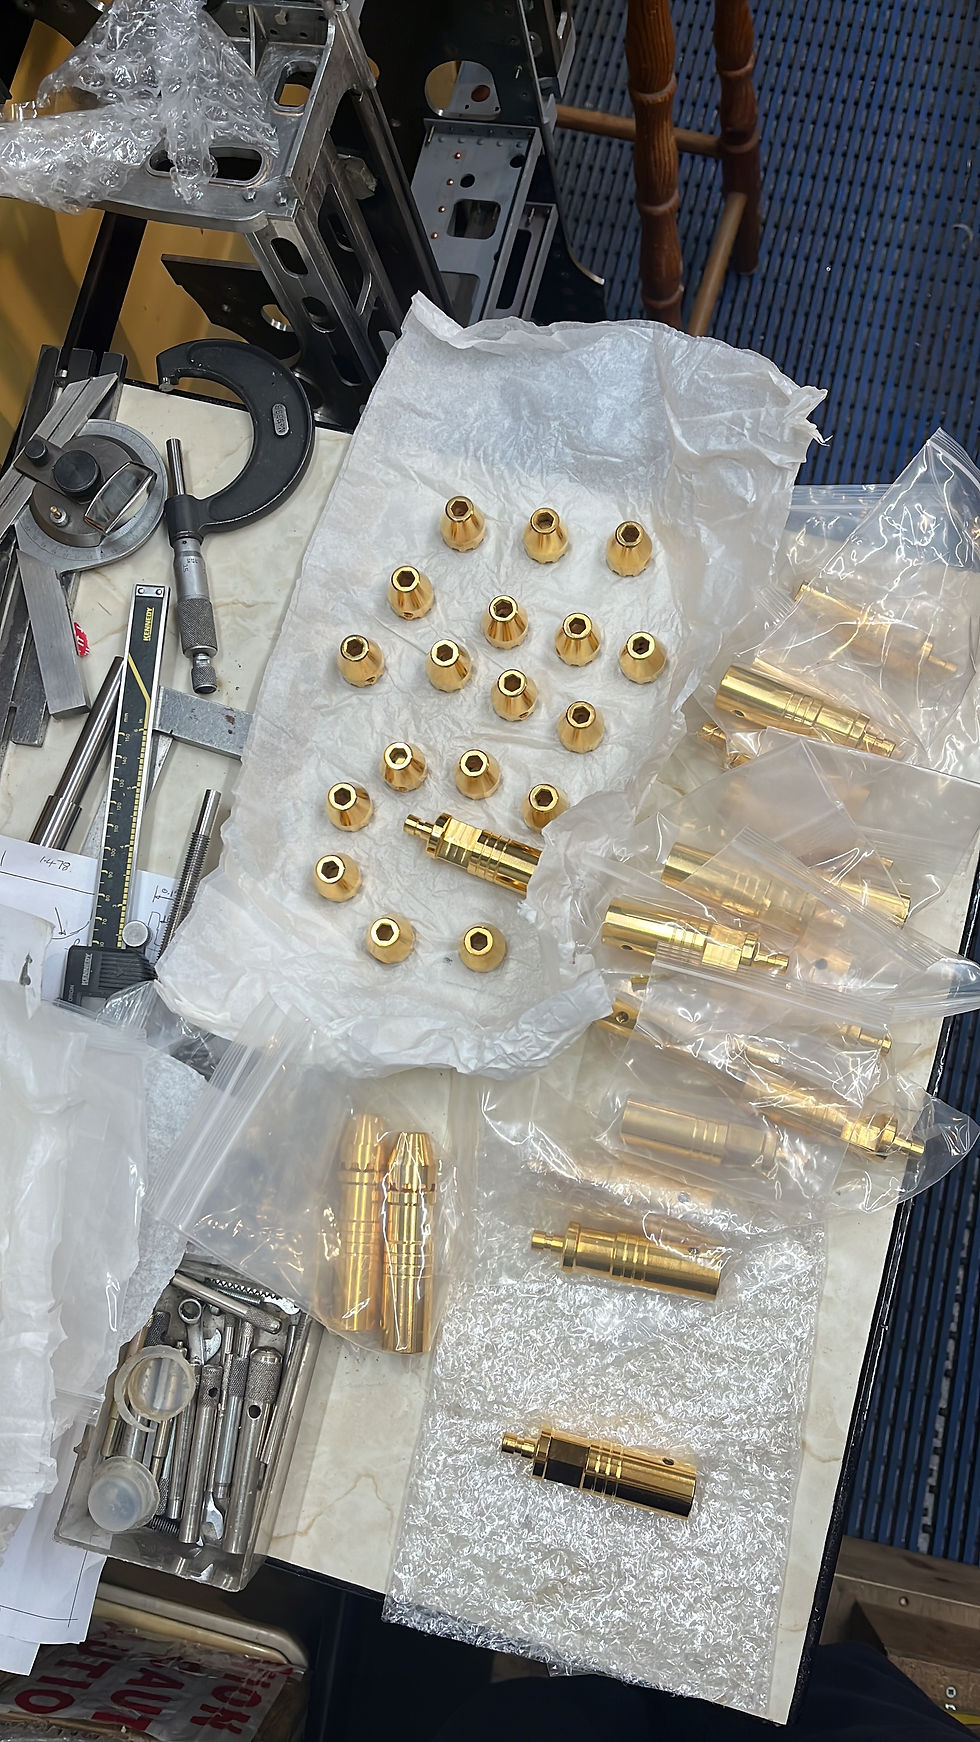
When we got the pieces back we were awed by their beauty... and then we went to assemble them. Even though the plating is so thin, the tolerance between the components are incredibly tight (it is precision engineering after all!). It meant the newly golded spindle was marginally too big to fit nicely in the chuck upon reassembly. Luckily though, we have Geoff and his workshop. We set the parts up in a collet to keep the spindle in place without damaging it and then used a fine sandpaper to remove the extra gold material where the spindle joins into the chuck to get a perfect fit.

And now we have 18 perfect sets of parts ready for reassembly; assembly time lapse in bound soon!